Admittedly, I’m obsessed with mold-making and gummy candy these days. Here’s my Big Gummy Pig created from a homemade gummy recipe and a product called CopyFlex from Make Your Own Molds. I made this pig as a demo example for a co-hosted Operation Shower emcee gig with my friend Jennifer Sbranti, who is the genius graphic and party design guru that founded Hostess with the Mostess – the original and most comprehensive party website that generously shares photos and party ideas from everyone including bloggers, moms, party pros, and yours truly. She’s awesome, and so is Operation Shower; an organization that showers military moms-to-be, whose husbands are overseas serving our country, with gifts. This group baby shower that we emceed was sponsored by Babies R Us and took place near Camp Pendleton. I was beyond honored to be a part of it! Thanks Jenn for inviting me to tag along. Now, on to the gargantuan gummy!
Step by Step Instructions to Make a Reusable Food Grade Mold for a Large Object
Step 1: Order CopyFlex from Make Your Own Molds and check out the FAQ page to make sure that the object you want to use to create a mold meets with the tech specs.

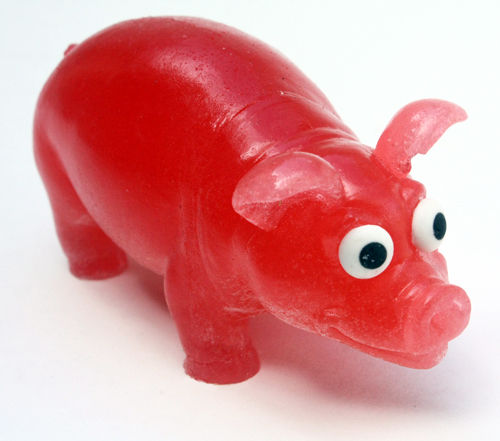
Step 2: You will probably have to prep the object. My original object was a large hollow rubber pig (5-in. long & 3-in. high). I had to make a small slit in the bottom of the pig and fill it with sugar so it would be weighted down in the CopyFlex, otherwise, it would float to the top. (Note: Some objects that contain vinyl, latex, or adhesive are not ideal. Definitely follow MYOM suggested tips for use with their product.)
Step 3: I used a small metal loaf pan as a mold form. The pig fit in the pan leaving about 1/4-inch space around all sides. To figure out how much CopyFlex I needed, I put the pig in the mold form and poured uncooked rice in it. I removed the pig, measured the rice, and figured out that I needed 2 cups of CopyFlex for my mold.
Step 4: Spread MYOM’s product Anchor-Dit on the bottom of the pig’s feet to keep it anchored in the mold form. Place the pig in the mold form.

Step 5: Measure out equal parts of Part A and Part B of CopyFlex as per the Make Your Own Molds website directions or instructions that come with the product. Mix the CopyFlex together until you have a uniform color.

Step 5: Pour the mixed CopyFlex into the mold around the pig. MYOM’s website has video tutorials that illustrate many of these steps such as a “stretch pour” and more!

Step 6: Be sure to pour CopyFlex until it is 1/2 inch above the top of your object in the mold form. Allow the CopyFlex to cure per the Make Your Own Mold instructions; about 5 hours.
Step 7: Remove the cured CopyFlex from the mold form. Cut your mold in half using a sharp knife. You’ll see in the photo below, the bottom of the pig’s feet!

Step 8: Take the original object, the pig, out of the mold.

Step 9: Wash the mold with soapy water, then immerse it in boiling water for 30 seconds to sterilize it. Remember, this is a silicone mold that can withstand 400 degrees F.
Step 10: Put the mold halves back together using rubber bands. Fill the mold with water and then empty the water into a measuring cup so you know how much gummy mixture you need to fill it. (Place the mold in a large container just in case your food mixture leaks out.)
Step 11: Prepare your gummy mixture using my gummy recipe BUT substitute 1/4 teaspoon strawberry or water Jello for the cocoa powder in the recipe to make a pink gummy candy. I quadrupled the recipe for my gummy pig as I need 1 cup of mixture to fill the mold. Slowly pour the gummy mixture into the mold through the opening at the pig’s feet. Allow the mixture to set overnight.

Step 12: Unmold your gummy pig!

And admire its total awesomeness!
